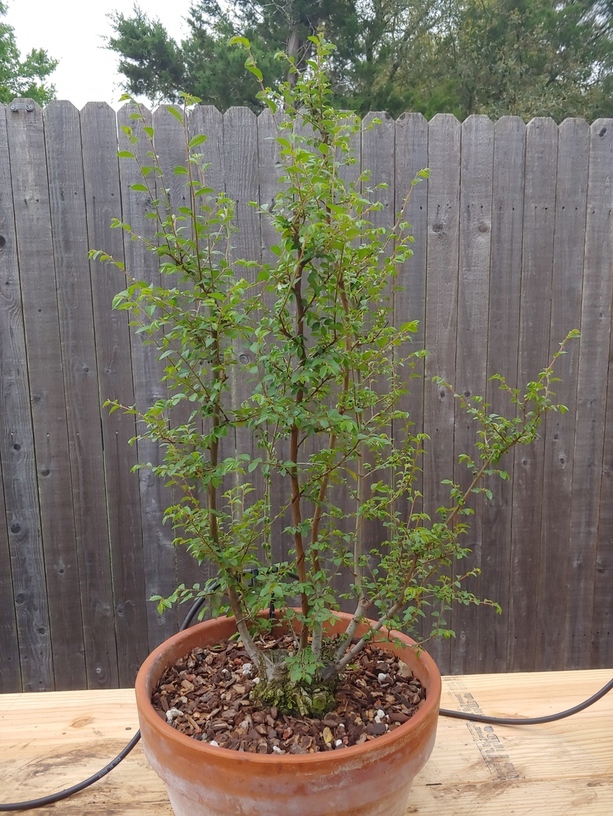
About 2 years ago I endeavored to start developing some trees as future clumps. It was nice that I just renewed my Mirai membership and watched the stream last night. These are pictures from this morning.
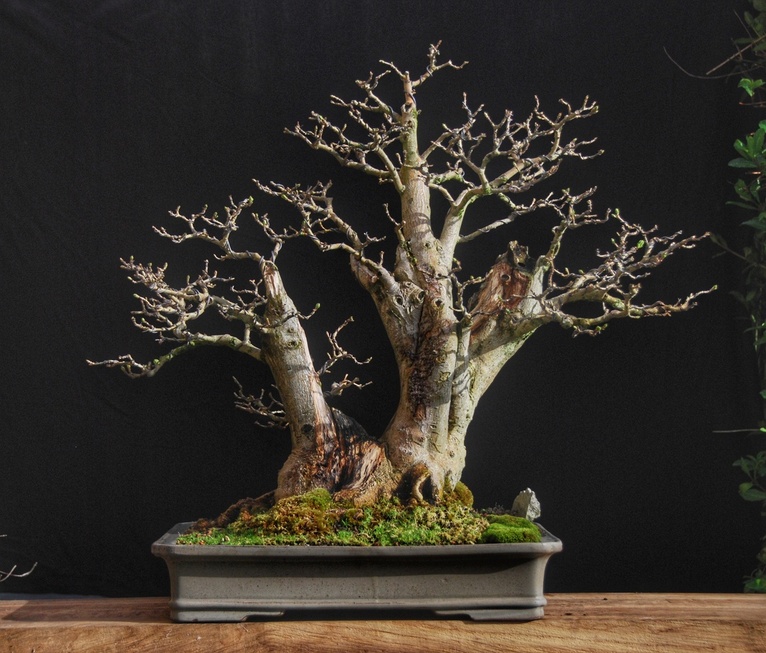
Collected Cedar elm, originally was a very uninteresting double trunk tree that was very linear and without taper. When it started suckers I chopped all the way to the bottom.
Nebari, its about 2 inches wider under the soil line.
Pomegranate, started from cutting 4 years ago. It has deadwood on the back side due to a root aphid infestation. Almost lost it, its healthy now and growing vigorously.
Two Vitex agnus-castus, started from nursery stock @ $4.99 each. They both have amazing nebari under the top dressing.
Only the cedar elm has been wired for gentle trunk movement, everything else has been clip and grow.
I look forward to this growing season! Feel free to comment or post your own clump projects here.
7 Likes
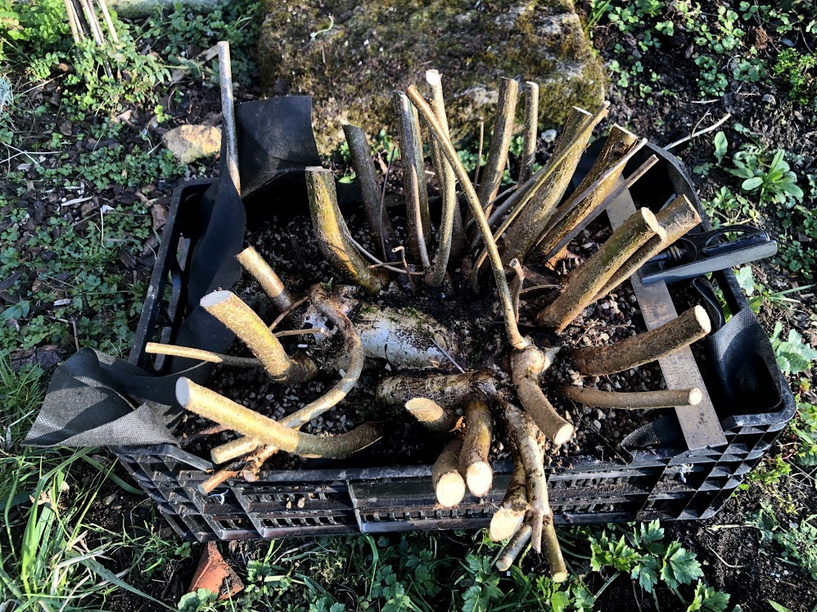
Interesting and timely post!
Here’s my future clump, freshly dug up. It’s a Corylus avellana or common hazel that my wife tried killing for the past 2 years.
3 Likes
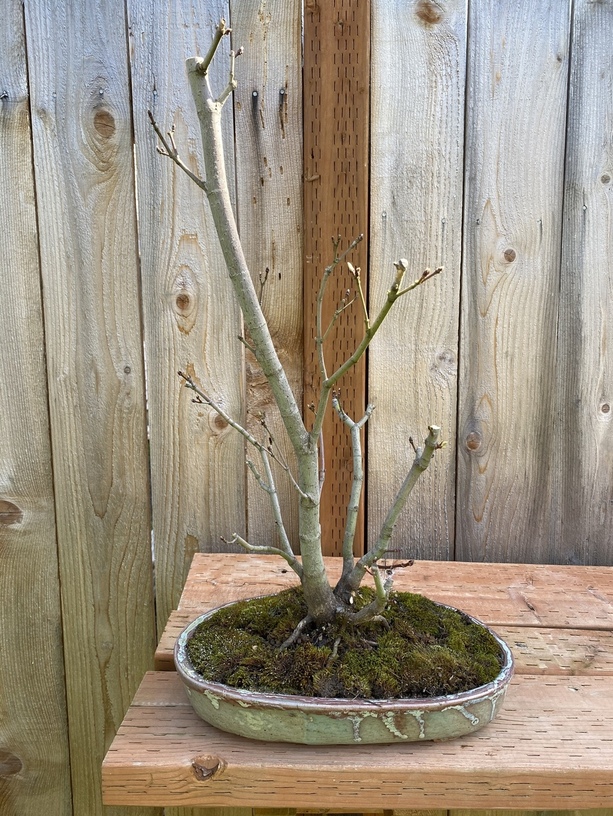
Vine Maple clump that I’ve posted on the forum before, but it’s recently repotted and ready for spring
4 Likes
This is an Escallonia I dug up just over a week ago which is going to be my latest clump. Don’t think my wife has noticed the gap in the garden yet!
5 Likes
My future clump whenever these fuse
My other clump
1 Like
I think you’ll eventually want soil on top of that tile too. Eventually the tile will help ground layer the clump once it starts girdling the trunk.
Last year, I found this jade in a box store. I drastically pruned and repotted it and now I look forward to hopefully turn it into something nice. Not sure whether this should be called a clump, a group, a forest or a mess, but I still quite like it. 
4 Likes
Really like the container.
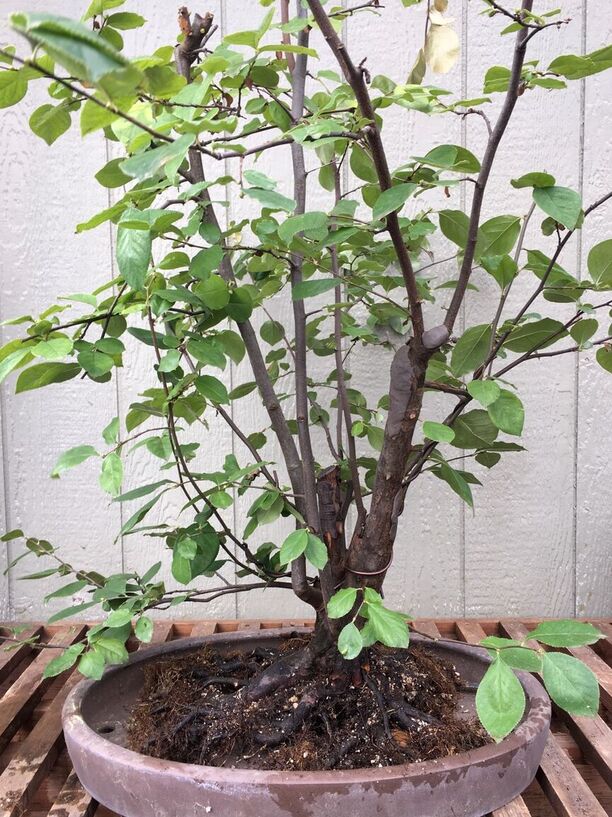
I repotted a mid-sized Chinese quince clump today. I acquired it as one of a flat of seedlings at an International Bonsai Symposium in about 2001. Not sure how I got it back to Spokane along with the two pines I did in workshops, but my guess is creative boxing for shipment as checked luggage.
It was grown in various pots for several years and eventually planted in the ground over a plastic dinner plate in a about 2012 with one lift a rotate to keep the roots compact. It was lifted and potted in a 17"square x 5" (43 x 13 cm) deep grow box (all dimensions are inside) in the spring of 2018 using pumice and diatomaceous earth. It grew decently and had quite a few fine roots when pulled it out of the box this morning.
My original plan was to pot it in a 15" x 10.5" x 3.5" (38 x 27 x 9 cm) window rectangle, but that was clearly too small. Plan B was the 18" x 14" x 3.2" (46 x 36 x 8 cm) oval shown in the picture below.. However to get this picture I had to place a small 1.5" (4 cm) deep oval under the tree to bring it up to a decent level so the pot was clearly too deep even though the size was decent.. This was after I had fully prepped the pot for planting including a small mound of soil.
I hunted through my pots and found a 20" x 14.5" x 1.8" (51 x 37 x 4.6 cm) oval that is shown below and the tree only had to be propped up a little on the right side.
I further pruned a couple of the roots on the left that turned over the edge of the plate and potted it up as you see below.
The main trunk in the front is a bit long a straight - I hope it buds out a bit lower. There is a dead stub sticking up in the middle that will be trimmed back once the tree is growing well. There is also trunk on the left that comes out at a decent angle and then heads straight up as shown below. My initial inclination is to cut it off, but remembering a comment by someone in a Live Stream that Ryan will almost always buy the tree with a funky branch, I think I will incorporate it into the design.
I plan to air layer off some of the branches to shorten them once it starts to grow. I will also look to make a slightly smaller, but similar glazed oval for the repot in 2 or 3 years and perhaps pot left of center vs. right of center. Leaning towards an off white with vertical brownish streaking, but am open to suggestions on the pot.
3 Likes
This is a Ligustrum ovalifolium I dug from a building site a decade ago. Had some major die back on some of the sub-trunks (I didn’t have enough knowledge about compartmentalization back then), and later fine ramification loss due to some very cold weather, but it’s starting to look good again now, need to build ramification and thicken up some of the primary and secondary branches using sacrifice branches. This may become the back of the tree again, but it depends on how the deadwood looks after it ages following bark stripping last year.
Here’s something of the history of this clump:
Ligustrum Bonsai video
4 Likes
A little spring cleaning and into a more suitable training container.
1 Like