I dug out a tree off my garden. One more step in turning the jungle of the backyard in the house I bought into a garden. This tree was so heavy with the soil that after I completely separated it from the ground, I still needed to tie a rope around it and through my waist to move off the hole it was in. It is some sort of flowering tree. Will ID it later. Lots of roots to cut, what saved me was the root slayer tool. I highly recommend it.


As I didn’t have a container for it, I thought why not put to practice all the skills I learnt at Mirai and decided to plant it in a slab and create a sphagnum moss wall.
The tree has a lot of surface roots, I hope these are enough to let it recover.

Here is the slab:
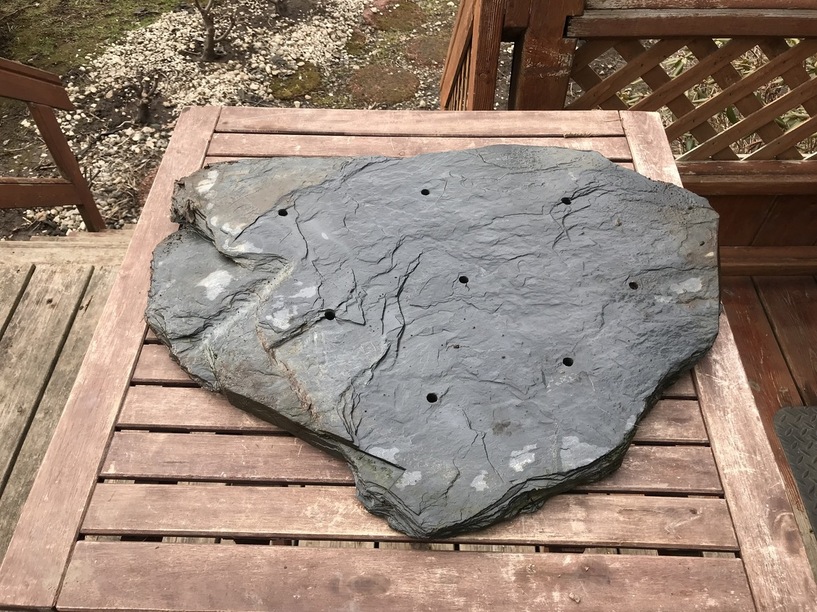
I used props, to set the angle and root stumps to tie the galvanized steel wire tie ins.

The process of building the sphagnum wall is fairly simple but at times you need to use one hand to hold the wall, then the other hand to scoop some substrate then place the scoop on top of your first hand and into the place that you need to fill then use the bamboo chopstick to move the substrate from the scoop into place. Obviously with only two hands, I don’t have any pictures of it.
And the result is this horrible birthday cake design. With candles included. The next step would be to top dress it with moss but frankly, I will need to find another solution for this tree. One idea is that I should go back in and simply chop in half the root mass as most roots that are still there are in the surface. Or simply put it in a box for the time being until I find a properly sized container. What a shock! Anyway, as an exercise it was really instructive but I will have to fix this, the result is aesthetically not acceptable. To anyone whose birthday is today, here’s your cake.

I went back in. I figured it is now or never for this tree that would otherwise go to compost. I had to use a reciprocating saw to cut the bottom off, most of it was solid wood. It was a lot of work still, next time I might use the chainsaw. Except for one root, I didn’t damage the root system any more than when it was removed from the ground. I figure that if it has to survive, the work today has not further decreased its chances.
Here is a shot of the bottom after it was cut. The rope was used to keep the roots away from where I was cutting:

Here is the final result after re-repoting, building the sphagnum moss wall again - this time more asymmetric, and putting some moss.
Front view:

Side view:

A more natural and acceptable result. Now I just hope it survives. If it does, then next year there’ll be some carving…
 . What species is this? Or did I miss that?


